
Managing data between Oracle HCM Cloud and external systems doesn’t have to be a manual headache. By leveraging Oracle Integration Cloud (OIC), you can build a seamless, automated pipeline to move your bulk data extracts exactly where they need to go.
Here is a high-level guide on how to configure an orchestrated integration to handle your HCM extracts.
Step 1: Prepare the Source in HCM Cloud
Before jumping into OIC, you need to ensure your data is ready for pickup:
- Create the HCM Extract: Define your extract criteria within Fusion Cloud.
- Generate the File: Run the extract in HCM Cloud. This generates an
.xmlfile and automatically uploads it to the (UCM) server.
Step 2: Set Up the OIC Orchestration
Now, let’s build the “brain” of the operation in OIC using a Scheduled Orchestration pattern.
- Initialize Tracking: Add a schedule parameter named
lastProcessedDocumentID. Initialize this with a value of 0. - Why this matters: Every HCM extract is linked to a unique Document ID. Storing this ID in a parameter ensures that your integration knows exactly which file to pick up during its next run.
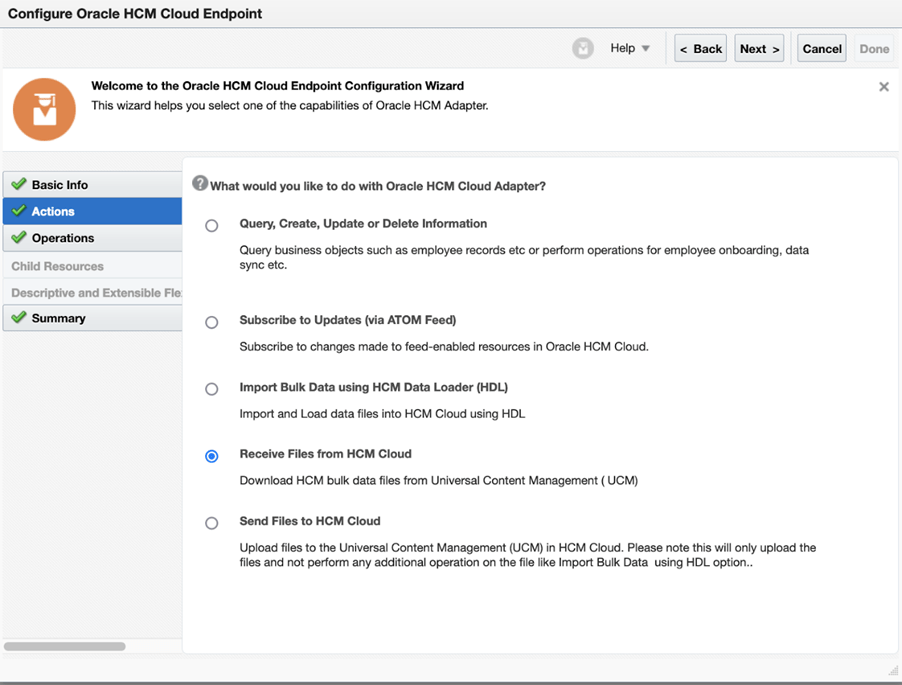
Step 3: Configure the Oracle HCM Cloud Adapter
Drag the Oracle HCM Cloud Adapter onto your integration canvas to invoke the data retrieval:
- Select the Operation: Choose the Receive Files from HCM Cloud (extract bulk data) operation.
- Define the Mapper: Map your
lastProcessedDocumentIDschedule parameter to the adapter’s input field. This tells the adapter which specific extract to fetch. - Download from UCM: The adapter will then download the extract output directly from UCM.
Step 4: Deliver the Data
Once OIC has the file, you need to send it to its final destination. While many use an SFTP server, OIC allows you to send it to virtually any endpoint.
- SFTP Configuration: Create an input folder in your SFTP and use the Write File operation.
- File Mapping: Map the file reference from the UCM response directly to your SFTP write operation to transfer the data.
Step 5: Close the Loop
To make the integration truly “smart” and repeatable:
- Immediately after processing the file, use an Assign node to update the
lastProcessedDocumentIDwith the ID of the file you just handled. - This ensures the value is ready and waiting for the next time the schedule triggers.


Looking to dive deeper into Oracle Fusion integrations? Stay tuned to fusionpeoplehub.com for more technical deep-dives and best practices!

Share your Feedback